How to Hang a Gallery Wall Without Damaging Walls: The Ultimate Guide
That blank wall is calling your name. You can already picture it: a beautifully curated collection of your favorite art, photos, and memories, all arranged in a stunning gallery wall. But then, the fear sets in. The thought of hammers, nails, spackle, and that dreaded conversation with your landlord about the security deposit is enough to stop any design dream in its tracks.
What if I told you that you can create the galler wall of your dreams without a single nail and without leaving a single mark on your walls?
In my experience designing countless spaces, I’ve mastered the art of damage-free decorating. It’s not just possible; it’s easy, secure, and completely stress-free. This guide will walk you through the exact methods, tools, and pro tips I use to create beautiful, wall-safe gallery displays.
Key Takeaways: Your Quick Guide to No-Nail Success
Pressed for time? Here’s the rundown on creating a damage-free gallery wall:
- Adhesive Strips are Your Best Friend: Picture hanging strips (like Command Strips) are the most popular and versatile choice for hanging frames without nails.
- Weight Matters: Always check the weight of your frame and use a strip rated to hold at least double that weight for security.
- Prep is Everything: Cleaning the wall surface with rubbing alcohol is a non-negotiable step for a strong, lasting bond.
- Think Beyond Strips: Picture rail systems and leaning frames on shelves are stylish, professional alternatives that offer flexibility and zero wall damage.
- Plan Your Layout First: Before you peel a single backing, lay your frames out on the floor to perfect your arrangement.
The Essential Toolkit for Damage-Free Hanging
Before we dive into the “how,” let’s gather our tools. A successful no-nail project is all about having the right supplies on hand.
- Picture Hanging Strips: The hero of our story. I recommend 3M Command Picture Hanging Strips. They come in various sizes for different frame weights.
- A Tape Measure & Pencil: For planning your layout accurately on the wall. A light pencil mark is easy to wipe away.
- A Laser Level or Leveling App: Nothing ruins a gallery wall faster than crooked frames. A laser level is a fantastic investment, but a smartphone app works in a pinch.
- Rubbing Alcohol & a Clean Cloth: This is my secret weapon for ensuring the adhesive strips stick properly.
- Painter’s Tape: Perfect for marking out your layout on the wall without leaving residue.
Method 1: The Magic of Adhesive Strips (The Go-To Choice)
This is the most common and accessible method for a reason—it works incredibly well. Forget everything you think you know about flimsy adhesive hooks from the past; modern picture hanging strips are incredibly strong and reliable when used correctly.
Step 1: Choose the Right Strips
Don’t just grab any packet off the shelf. Check the weight capacity. Command Strips, for example, have clear weight ratings:
- Small Strips: For frames up to 4 lbs (1.8 kg)
- Medium Strips: For frames up to 12 lbs (5.4 kg)
- Large Strips: For frames up to 16 lbs (7.2 kg)
Pro Tip: I always err on the side of caution. If my frame weighs 5 pounds, I’ll use the large strips rated for 16 pounds. This extra grip gives me total peace of mind.
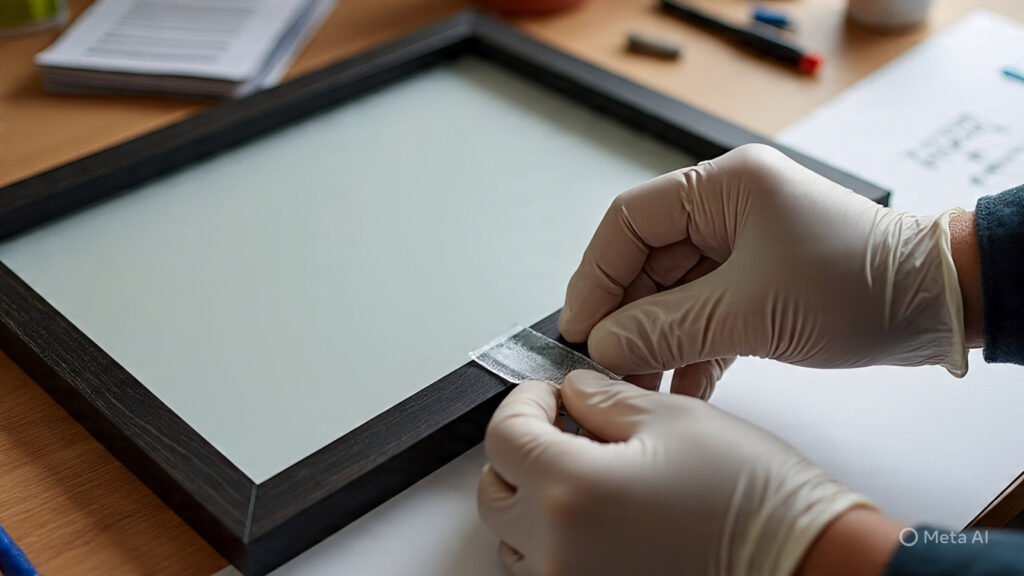
Step 2: Prep Your Surfaces
This is the step most people skip, and it’s the most critical for success.
- Take your clean cloth and dampen it with rubbing alcohol.
- Gently wipe down the area on the wall where the strip will go.
- Do the same for the back of your frame.
- Let both surfaces dry completely for a minute or two. This removes any dust or oils that could prevent the adhesive from bonding.
Step 3: Apply the Strips
- Take two strips and press the Velcro-like sides together until they click.
- Peel the liner off one side and press it firmly onto the back of your frame. I recommend placing one pair near the top two corners of the frame. For larger frames, add a pair at the bottom, too.
- Press and hold for 30 seconds to create a strong bond with the frame.
- Repeat for all the strips on your frame.
Step 4: Hang Your Frame
- Peel the remaining liners off the strips attached to your frame.
- Position your frame on the wall, using your level to ensure it’s perfectly straight.
- Press the frame firmly against the wall, holding for at least 30 seconds. Don’t just tap it—give it firm, even pressure.
Step 5: Let it Cure (The Pro Step!)
- Gently peel your frame off the wall by lifting from the bottom corners. This will leave the wall-side strips in place.
- Press firmly on each strip that’s on the wall for another 30 seconds.
- Wait one hour. This allows the adhesive to build a strong bond with the wall.
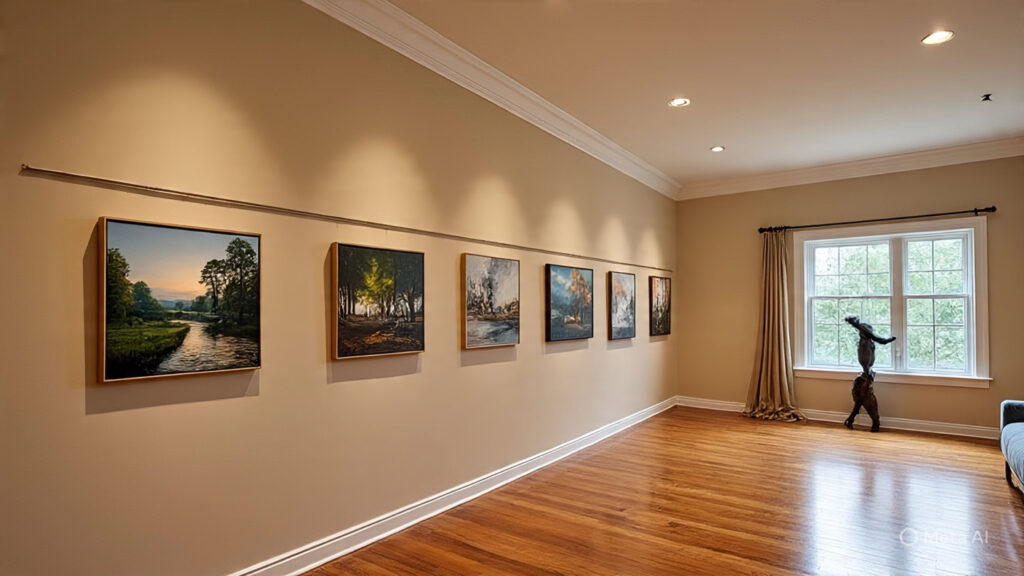
Method 2: The Sophisticated Picture Rail System
If you’re looking for an elegant, flexible, and truly professional solution, a picture rail system is a fantastic investment. It’s one rail installed just below the ceiling, with clear cords or metal rods that you can hang your art from.
What I love about this method is the flexibility. You can change, add, or rearrange your art as often as you like without ever touching the wall again. While it requires a small initial installation of the rail, the rest of your wall remains pristine forever.
This is a brilliant solution for homeowners who love to switch up their decor and for renters in older apartments that might already have picture rails installed!
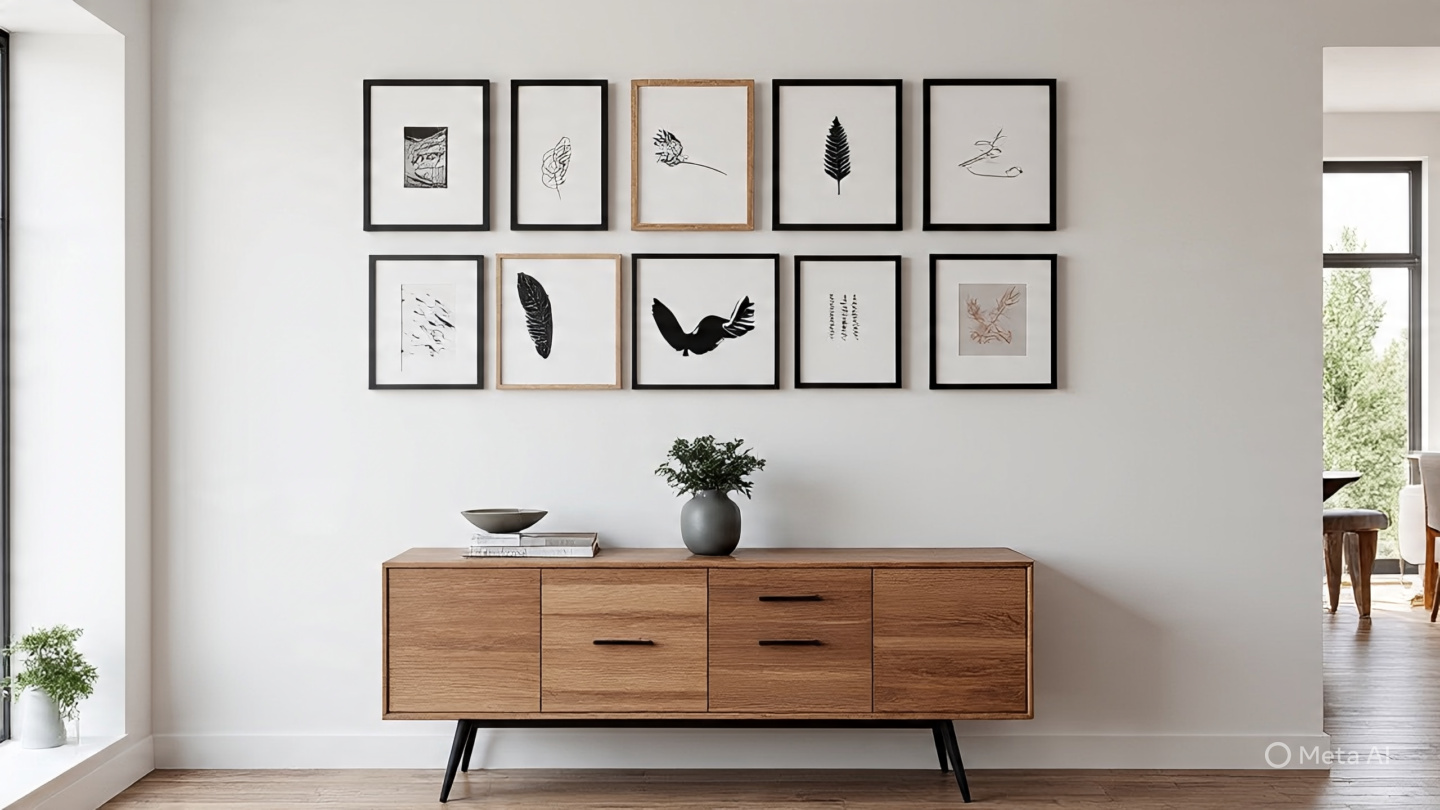
Planning Your Layout (Before You Stick!)
A great gallery wall is all about the layout. Rushing this stage is a recipe for crooked frames and frustration.
- Trace Your Frames: Place your frames on kraft paper or newspaper and trace around them. Cut out these paper templates.
- Arrange on the Floor: Clear a space on your floor that’s the same size as your wall space. Arrange the frames themselves until you are find a composition you love.
- Tape it Up: Use painter’s tape to stick your paper templates to the wall, replicating your floor layout.
- Live With It: Leave the templates up for a day or two. This lets you see the layout in different lights and make sure you’re 100% happy before you hang the real thing.
Frequently Asked Questions (FAQ)
Q1: Can adhesive strips really hold heavy frames or mirrors?
It depends on the weight. Always check the maximum weight capacity on the packaging. For most standard art frames, they are perfectly safe. For very heavy or expensive pieces, like a large ornate mirror, I would not recommend using adhesive strips alone.
Q2: How do I remove the strips without damaging the paint?
This is the best part! To remove a Command Strip, you never pull it straight off the wall. Instead, grab the exposed tab at the bottom and slowly pull it straight down, parallel to the wall. The strip will stretch and release cleanly without leaving any residue or damage.
Q3: Will adhesive strips work on textured walls?
In my experience, adhesive strips work best on smooth, sealed surfaces. On heavily textured walls (like stucco or “popcorn” walls), the strips can’t get a flat, secure grip and are much more likely to fail. For these surfaces, a picture rail is a much safer option.
Your Turn to Create!
Now you have the tools, techniques, and confidence to create that gallery wall you’ve been dreaming of—all while keeping your walls in perfect condition. The freedom of damage-free hanging means you can experiment, change your mind, and truly make your space your own, whether you rent or own.